Restoration of the entrance porch

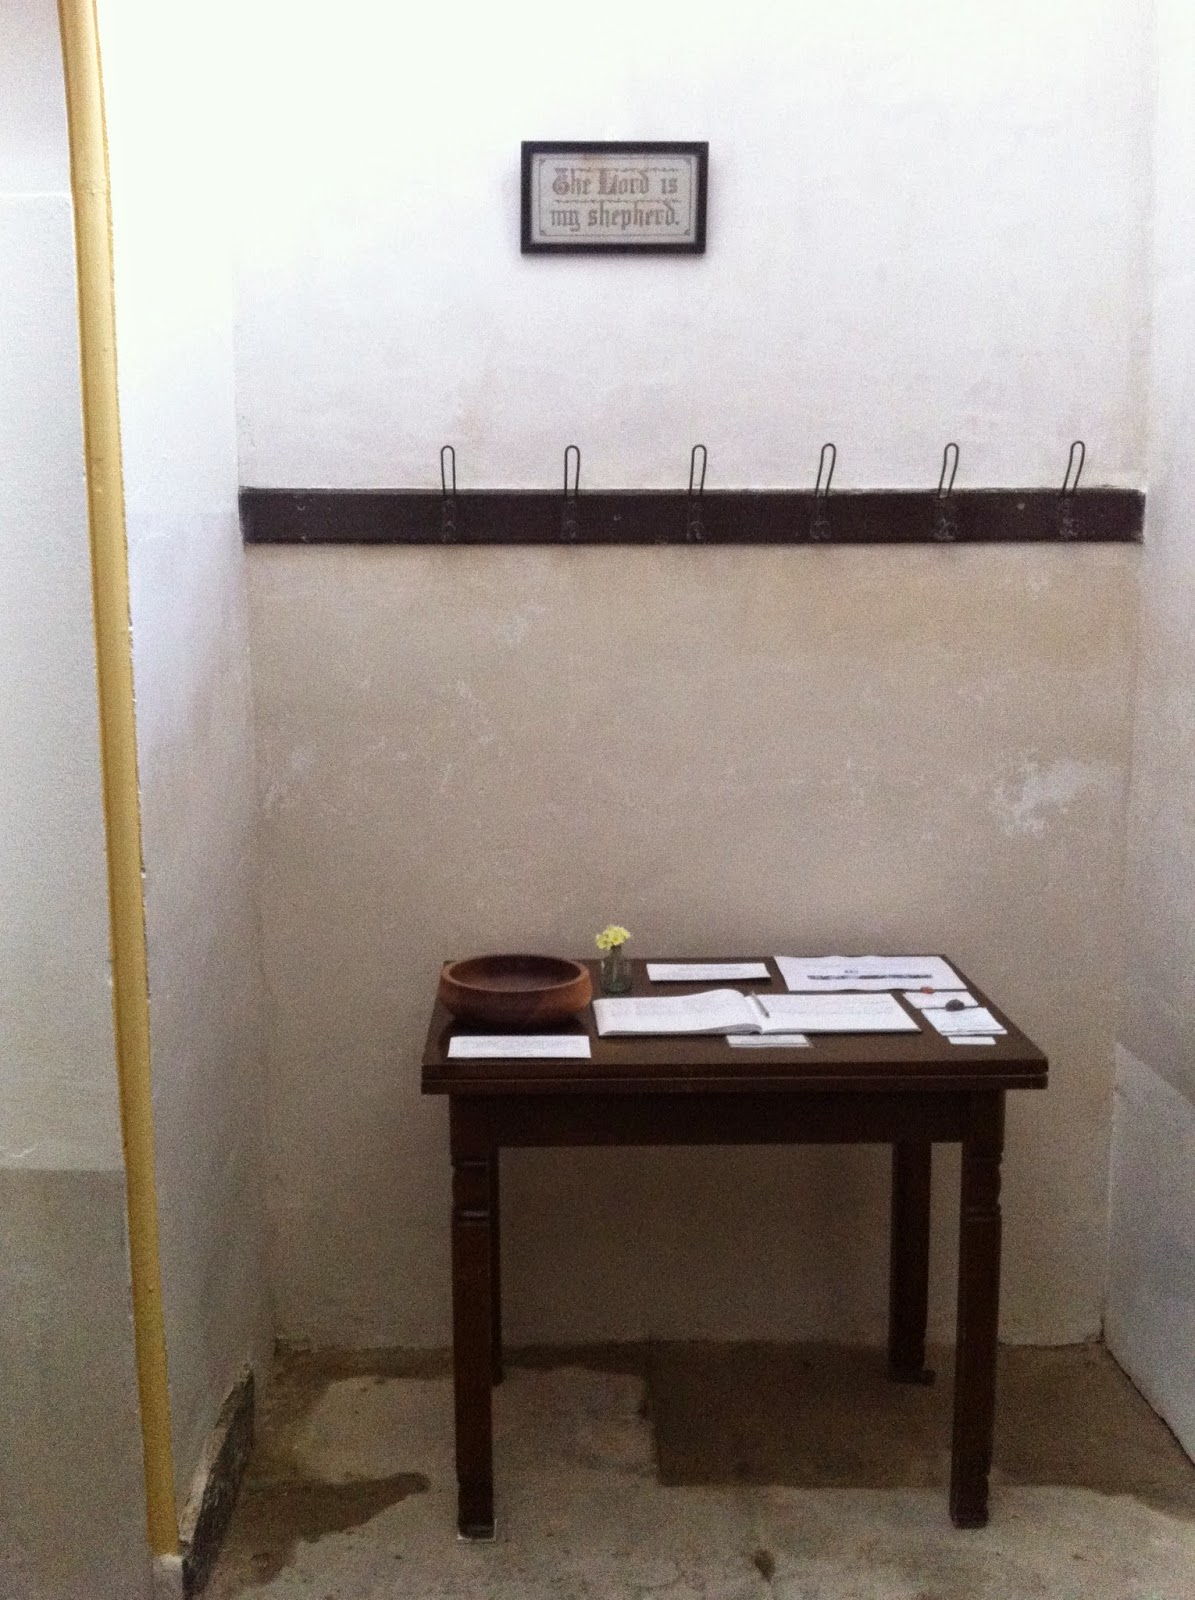
For the past couple of months we have been restoring the entrance porch on the south side of the nave. If you follow our Facebook or Instagram page you will have seen this in progress and now we are very pleased to show it to you – all finished!
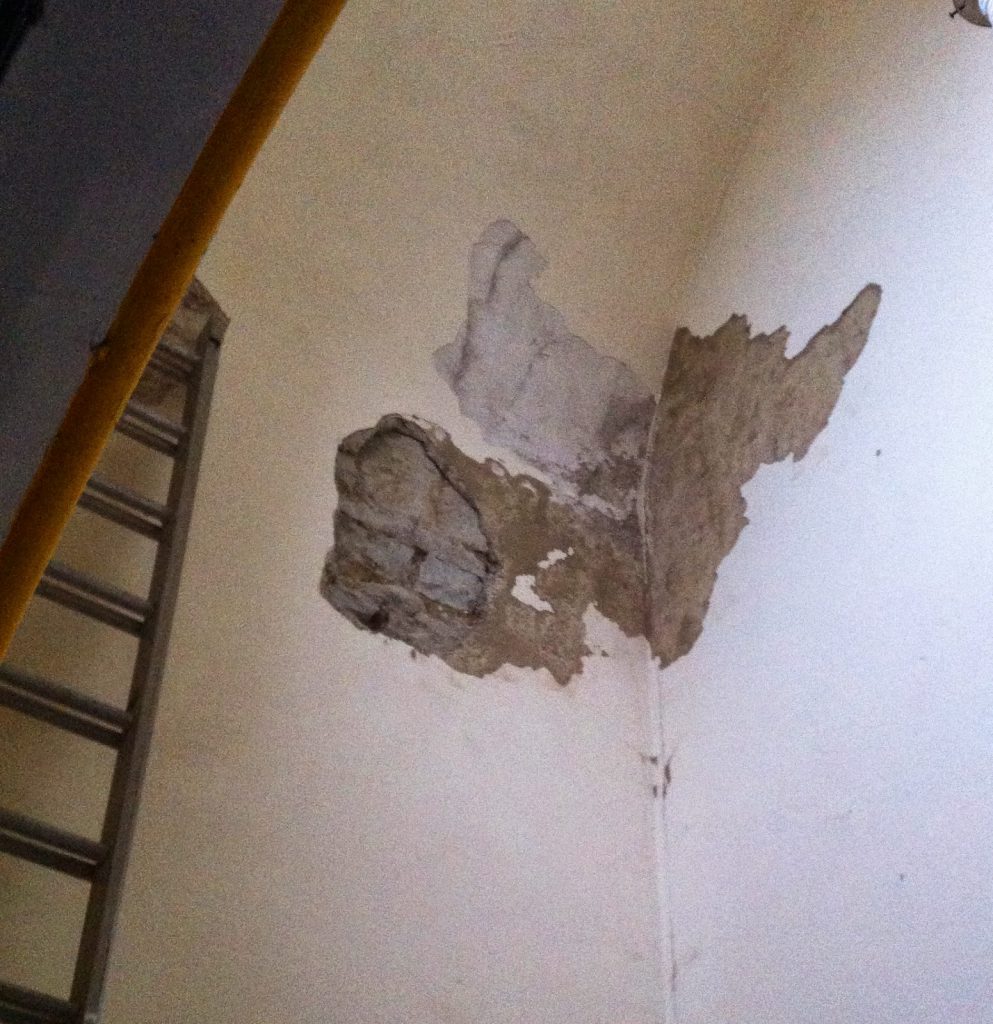
Historically the entrance porch has been very prone to damp as it is flanked either side by down pipes and gullies taking away the rainwater from both the nave and aisle roofs. Blocked clay pipes under the ground adjacent to the porch haven’t helped much either. It has been repaired in the past with patches of gypsum plaster but these have exasperated the problem by preventing the walls to breathe and dry out. If you have visited the church you will have walked past these walls looking a little dilapidated with flaking paint, plaster falling off in areas and stonework exposed. It hasn’t given the best of first impressions.

Most of the sources of damp problems with the porch have been fixed when we re-slated the south aisle roof. Overhauling the guttering, downpipes and flashing have stopped a lot of water getting into the stonework of the porch.
The first step was to remove any loose or inappropriate plaster. Fred and Victor were very eager to get to work with the lump hammer, chisel and crow bar to remove the low level modern plaster repairs. The paint was removed from the original lime plaster by scraping it off (a horrible dusty job which I, Natalie did). As the chunks of plaster piled up on the floor, our hearts sank as we could see just how much we needed to put back onto the walls.


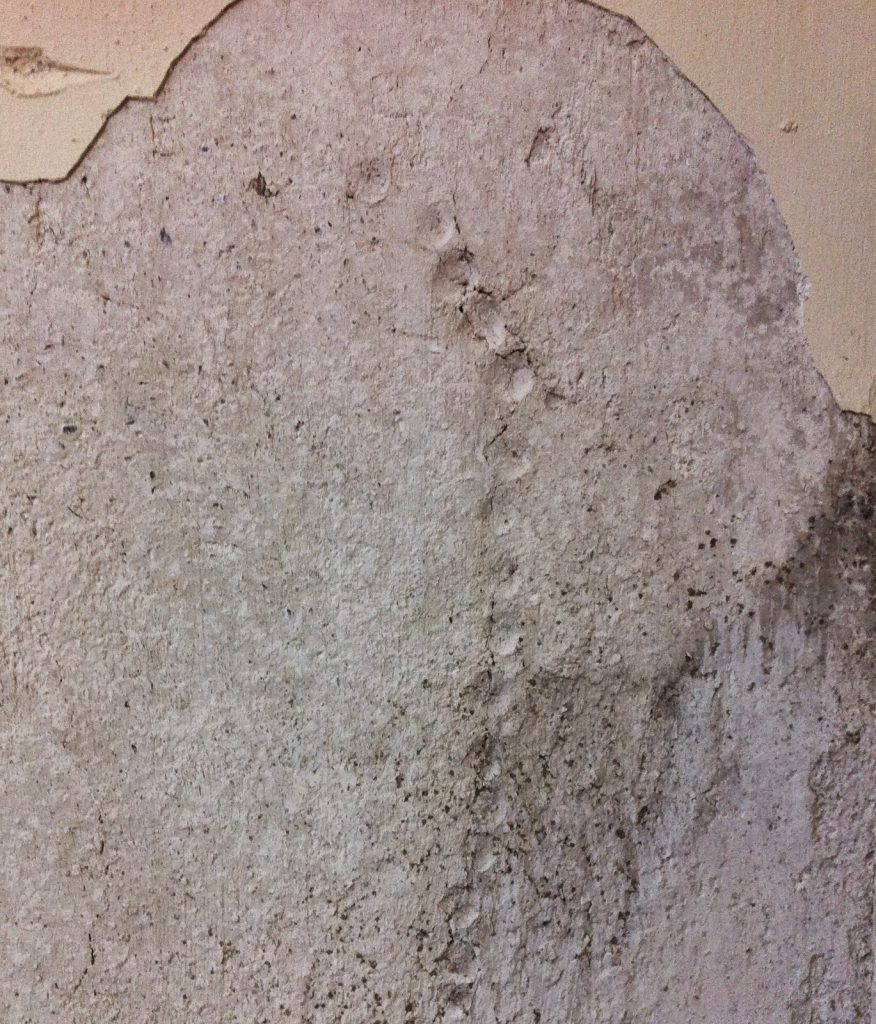
It’s always interesting to peel back the layers of any building work and here removing loose plaster revealed a row of indentations made by a Victorian plasterer’s finger as he pressed the plaster along a crack which had formed as it was drying… a 170 years ago!
The next stage was to begin plastering the patches where the stone was exposed to bring them back up to the level of the original plaster. These had to have two coats of haired lime plaster. Back in the day cow hair would have been used to strengthen the plaster, but as our modern breeds of cow have short hair, we have to use Chinese Yak hair.


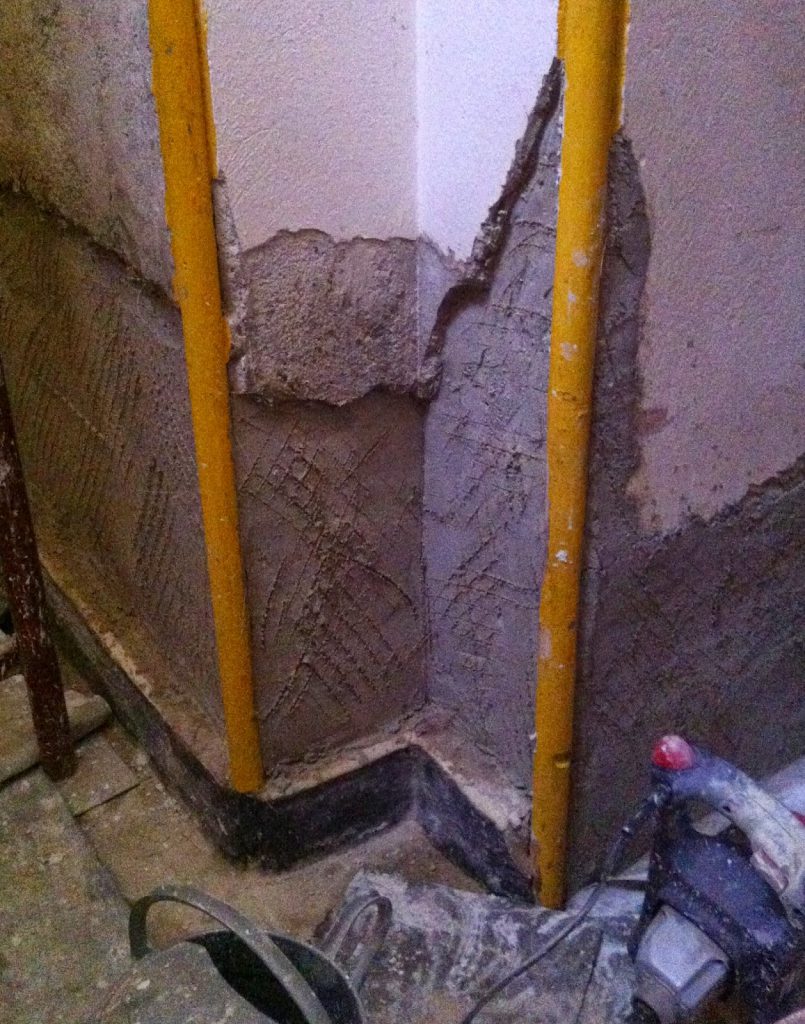

This stage involved several long days getting very chilled. Even though I worked with protective gloves my hands suffered with the abrasive alkaline plaster.

Carrying bucket fulls of plaster up the scaffold was back breaking. The porch is surprisingly high, higher than the side aisles of the nave. It is also a narrow space so working on and around the scaffold tower wasn’t easy.
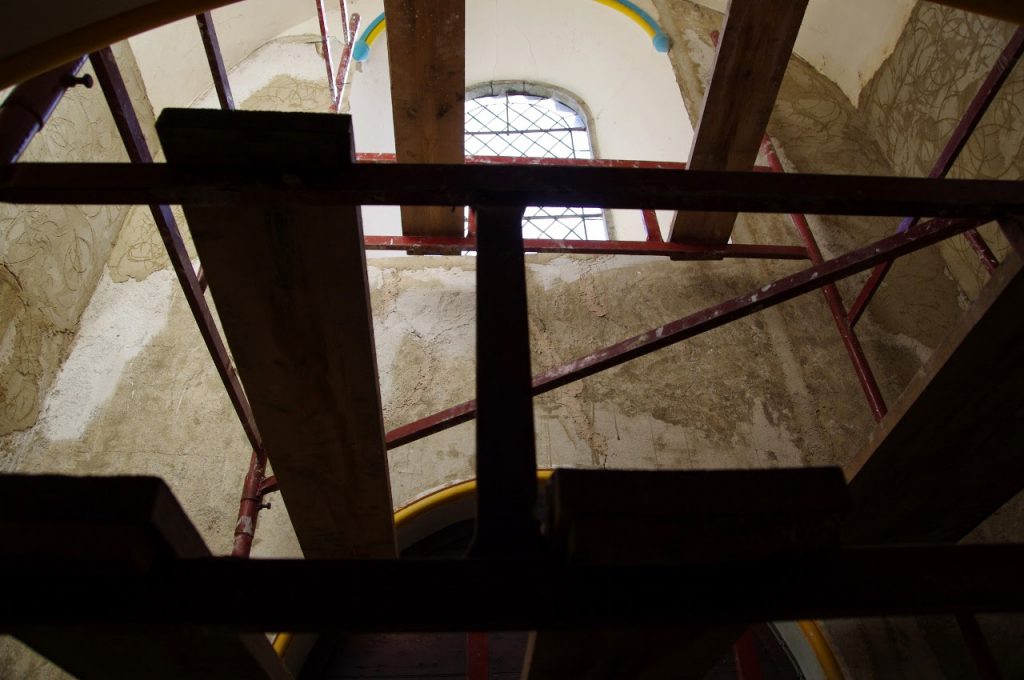

Once the scratch coats were dry, the walls in their entirety needed to be covered in a ‘finish’ or ‘skim’ coat of fine white lime plaster. I have never done so much finish coat lime plastering before so it was a real test of my amateur lime plastering skills.

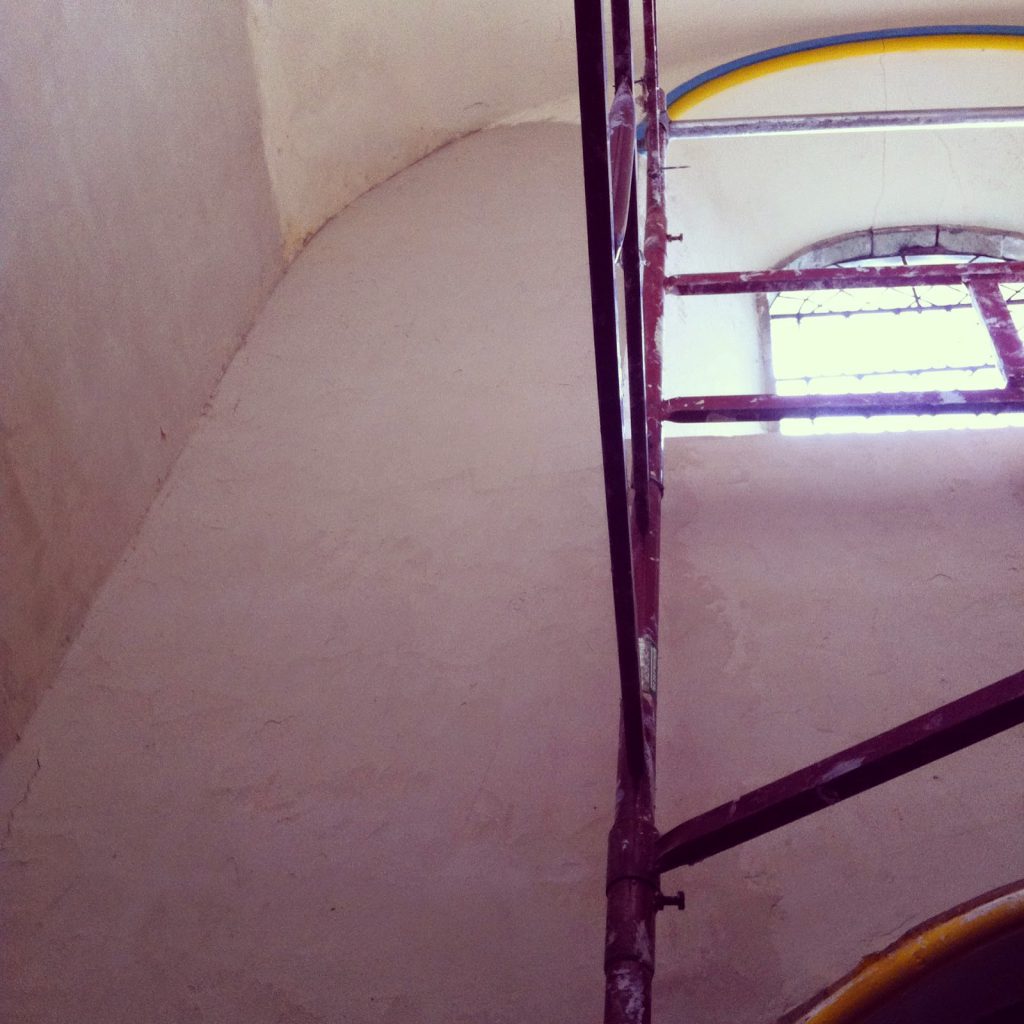
I managed to get the plaster to cover the walls and stay there (always a bonus!) though I did struggle getting a good smooth finish. What hindered me was the plaster dried at different rates across the wall depending on whether the plaster was covering original plaster or recently plastered patch. Another factor was time. By the time I had finished a wall, it was time to pick the boys up from school or cook dinner and do the laundry, so ‘finishing’ it often had to wait resulting in the plaster in some areas became too dry to finish adequately. But if you don’t look too closely, they look great!
After a couple of weeks of drying time and a little bit of respite for me, the walls were ready for lime washing. Lime wash is just great as it gives a lovely matte chalky finish and reflects the light beautifully. Also it is so much cheaper than paint. However it does take a little longer to apply as the walls have to be damp first so a lot of time is spent spraying down the walls.


The arched ceiling of the porch remained intact throughout as it hadn’t suffered with damp damage so this was painted with my own special mix of regular paint.

Cleaning the window really enhanced the amount of light coming into the porch. It was lovely to work by it, looking out over the churchyard. It’s a view I shall miss now that the scaffold is down.

The ornate plasterwork around the window has been repainted. We’ve replaced the blue and sulphur yellow with more the muted tones of Yellow Drab and Indian Yellow (by Fired Earth).


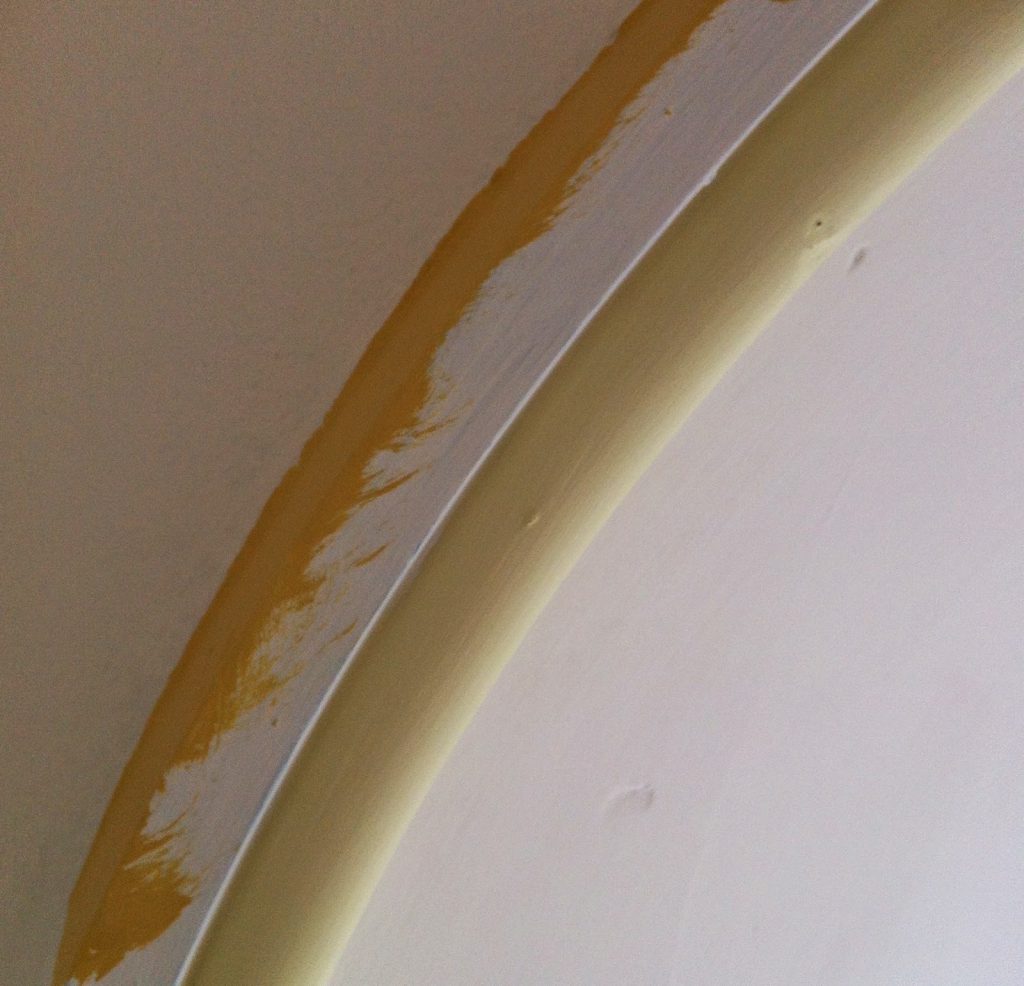
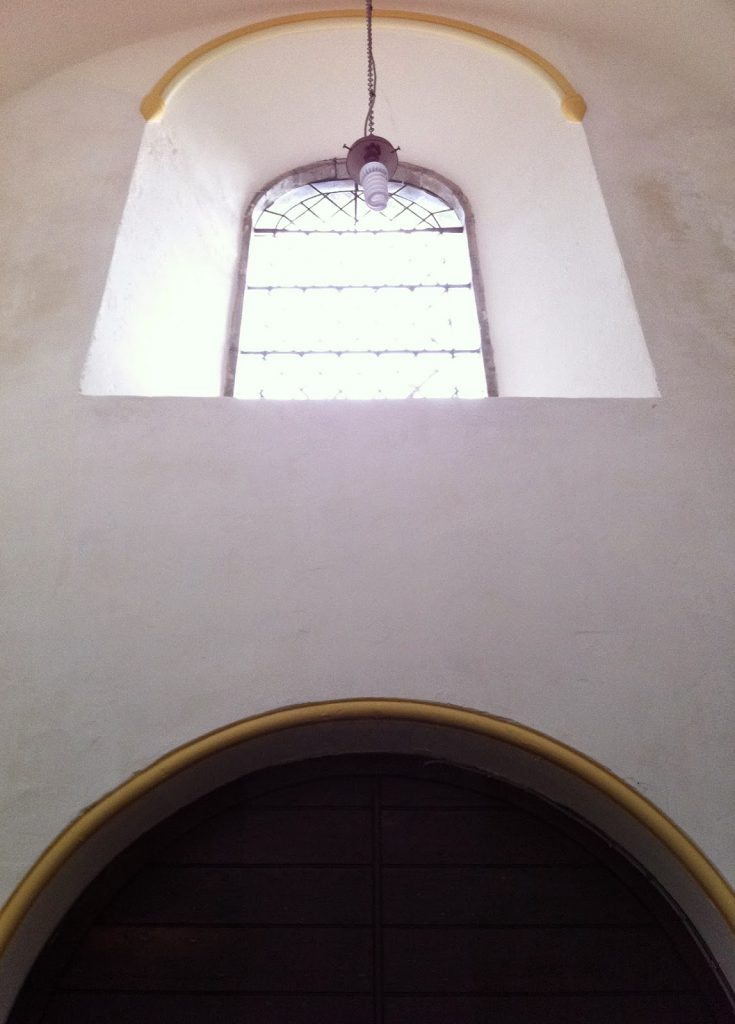
We think that the softer yellows are an improvement. Below you can see how it looked before.


The doors have been cleaned and treated to some beeswax.
The porch is now quite dazzling when the sun comes out! It’s wonderful to have a small part of the church interior finished. We now have a much clearer idea now of how to restore the nave interior.
So hopefully if you come to visit the church you will notice this small improvement made to the entrance.

