Back to plastering


After a long delay, have finally got back into plastering mode. Need to put the lime finishing coat onto the original lime plaster. We had to scrape the original masonry paint off as the walls weren’t able to breathe and consequently the original lime final coat came off with the paint. The priority is to work on the wall of the ‘landing’ as there are scaffolding planks there to work off at the moment but soon they will be removed and it will be an open space. As soon as the stud walls go up on the upper level the landing space will be very difficult to work in, for such jobs as plastering, as you need a firm platform to work from and plenty of space.
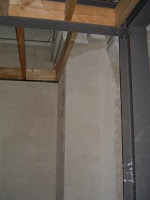
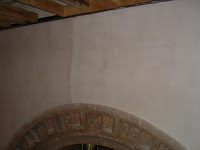
It took a while to get into the swing of it again but lime plaster is so good to work with. Putting on the finishing coat is more pressured than the other coats as you have to work quite fast and not fiddle about too much with the plaster once its on. You can see my technique improving across the wall! Especially tricky were the corners around the buttress, but figured it out as I was working on it. Unfortunately the most prominent corner edge looks the most wobbly! It all adds to the history and story of the repair work to Christ Church. The photographs show the new lime plaster finishing coat (white) adjacent to the original lime plaster (grey). It is very uplifting for us both to see a ‘finished’ area, though still have a LOT more finishing coat plastering to do!
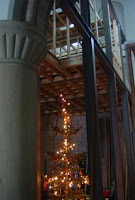
Karl is working hard in the evenings putting up roofing joists, in preparation for putting in stud walls. Can’t wait to see them up, partly to see some room spaces forming and partly to have something to hold on to up there as its pretty precarious!
We are mainly concentrating on the house area (the church conversion) at the moment, but are working hard to raise funds for the church restoration so we can get Christ Church open to the public again.

